Make your home more You with these eight easy projects using nothing more than photos and a little ingenuity. Tips from DIY enthusiast, big-time reader, and writer Sarah Moore @newleafwriter. Take it away, Sarah!
I’m all about inspiration. No matter where I am in my home, I want to be able to look up and see something that makes me smile, makes me think, makes me dream.
Sure, there are a lot of ways to achieve that effect. I’m lucky enough to have tons of windows and a decently green thumb, but I find one strategy rises above all the rest: photos.
Not only do photos keep on kicking even if you forget to water them (a major benefit), but they’re cheerful in the light of a bright sun, the gloom of a rainy afternoon or the gentle sparkle of twinkle lights. I don’t think it’s going too far to say there’s nowhere I don’t recommend a good DIY photo project!
But then, I’m a zealot. You don’t have to coat your walls with photos the way I have. Instead, try just one of the following projects, and if you get inspired after that, go ahead and do all eight!
Ready to get started? Keep reading.
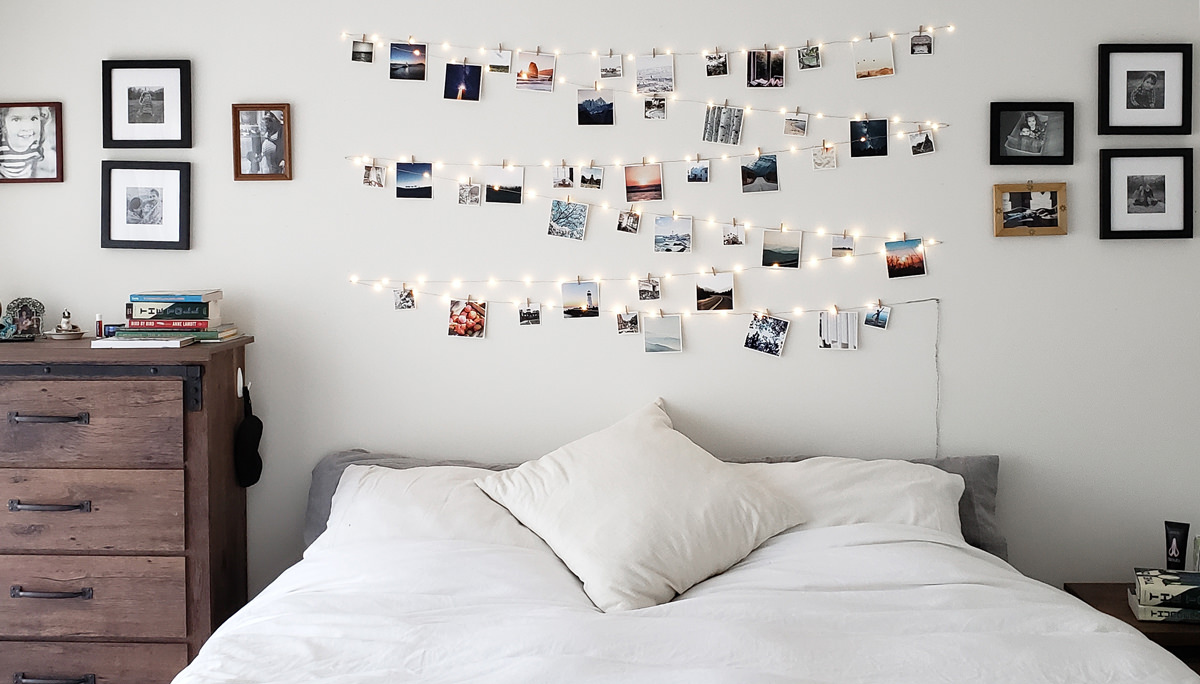
My bedroom photo installation is probably my favorite DIY in the entire house. It not only creates a great focal point for the rest of the room, the wire strand of twinkle lights is plenty bright to read by at night! I simply measured the width of the bed, chose a width for the strands, then measured inward from both sides to center everything.
Once the lights were up, I used tiny clothespins to clip squares and mini squares to the wire. Note that I don’t mind the look of the plastic cord at the end, but if you do, you should order a strand longer than mine, which I believe is 30 feet. Also note that the wire is key; a plastic-coated strand won’t fit the clothespins.
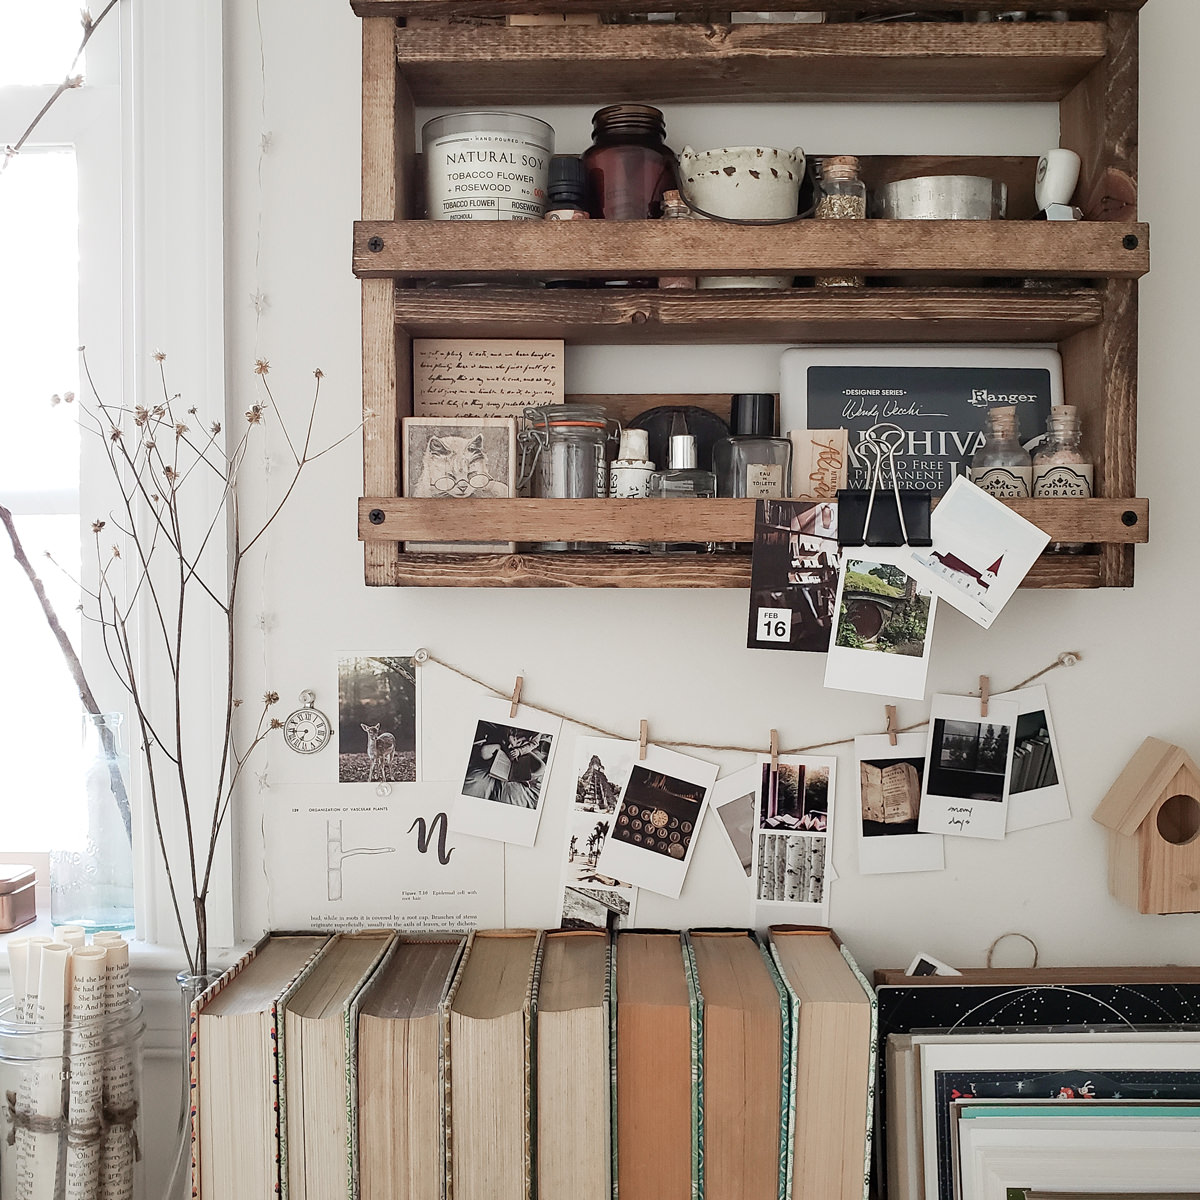
I figure, if it ain’t broke, don’t fix it! My absolute favorite way to decorate any space is with mini prints, so that’s what I opted for in this space as well. My craft shelf totally benefits from a few photos clipped right to it and another strand underneath, this one made with twine and held in place by pushpins. I also added in a few daily calendar photos to dress things up.
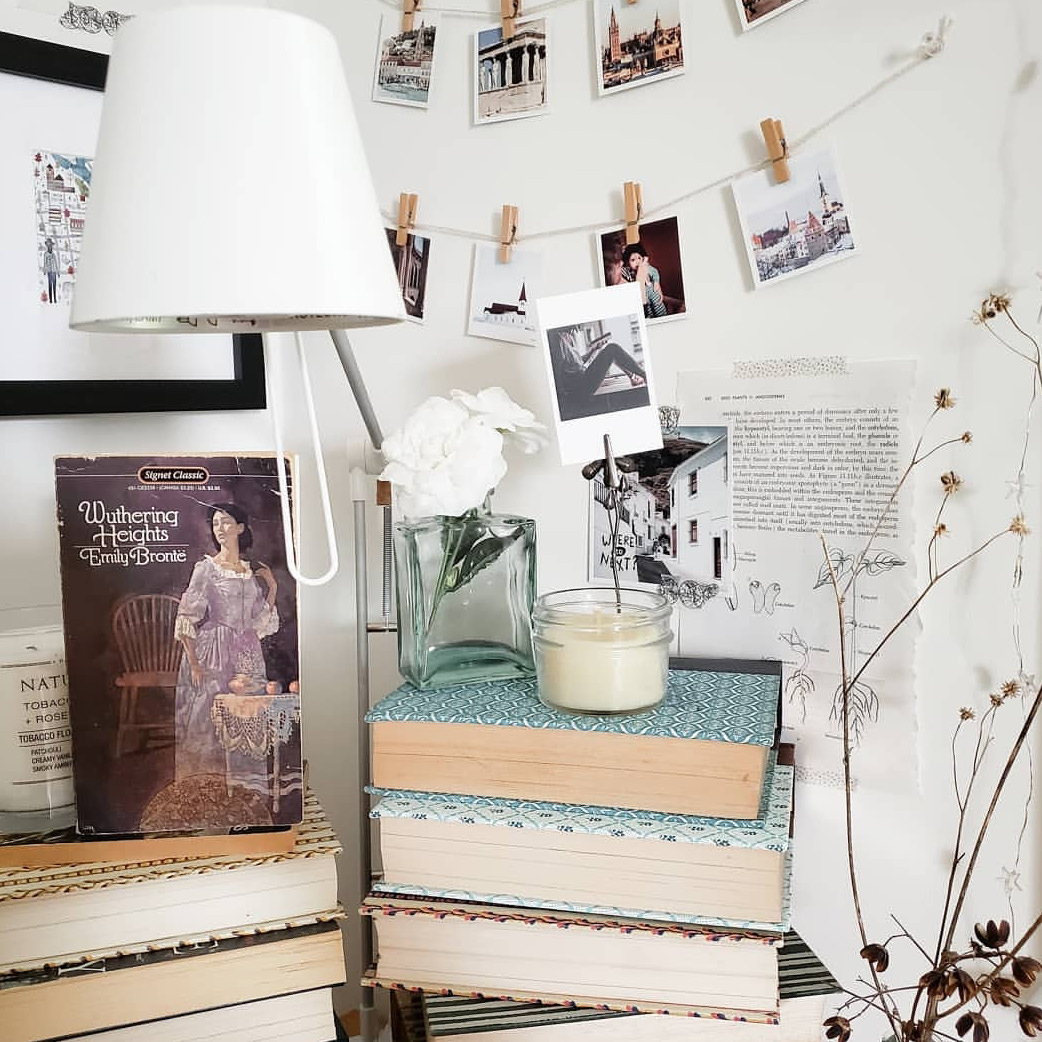
Because I’m a #bookstagram junkie, I’m always looking for new places to stage books in the pursuit of literacy (and cuteness, obvi). The opposite corner of my desk from the art shelf is devoted to this cause, and I just love the look of a stack of books in front of more (yes more!) strands of photos clipped to string.
I also taped up a few squares, some pages of an old botanical album and some postcards (not shown). Lastly, I scattered in a few pieces of framed art. The one shown in this photo is a map I drew of my hometown – Portland, Oregon – and framed by Social Print Studio.
This is where my daughter lives, and that’s not an exaggeration. I can’t tell you how many meals she would forego in favor of art if given the option. (She’s not given it, by the way. I definitely feed my child, so you can hang up the phone.)
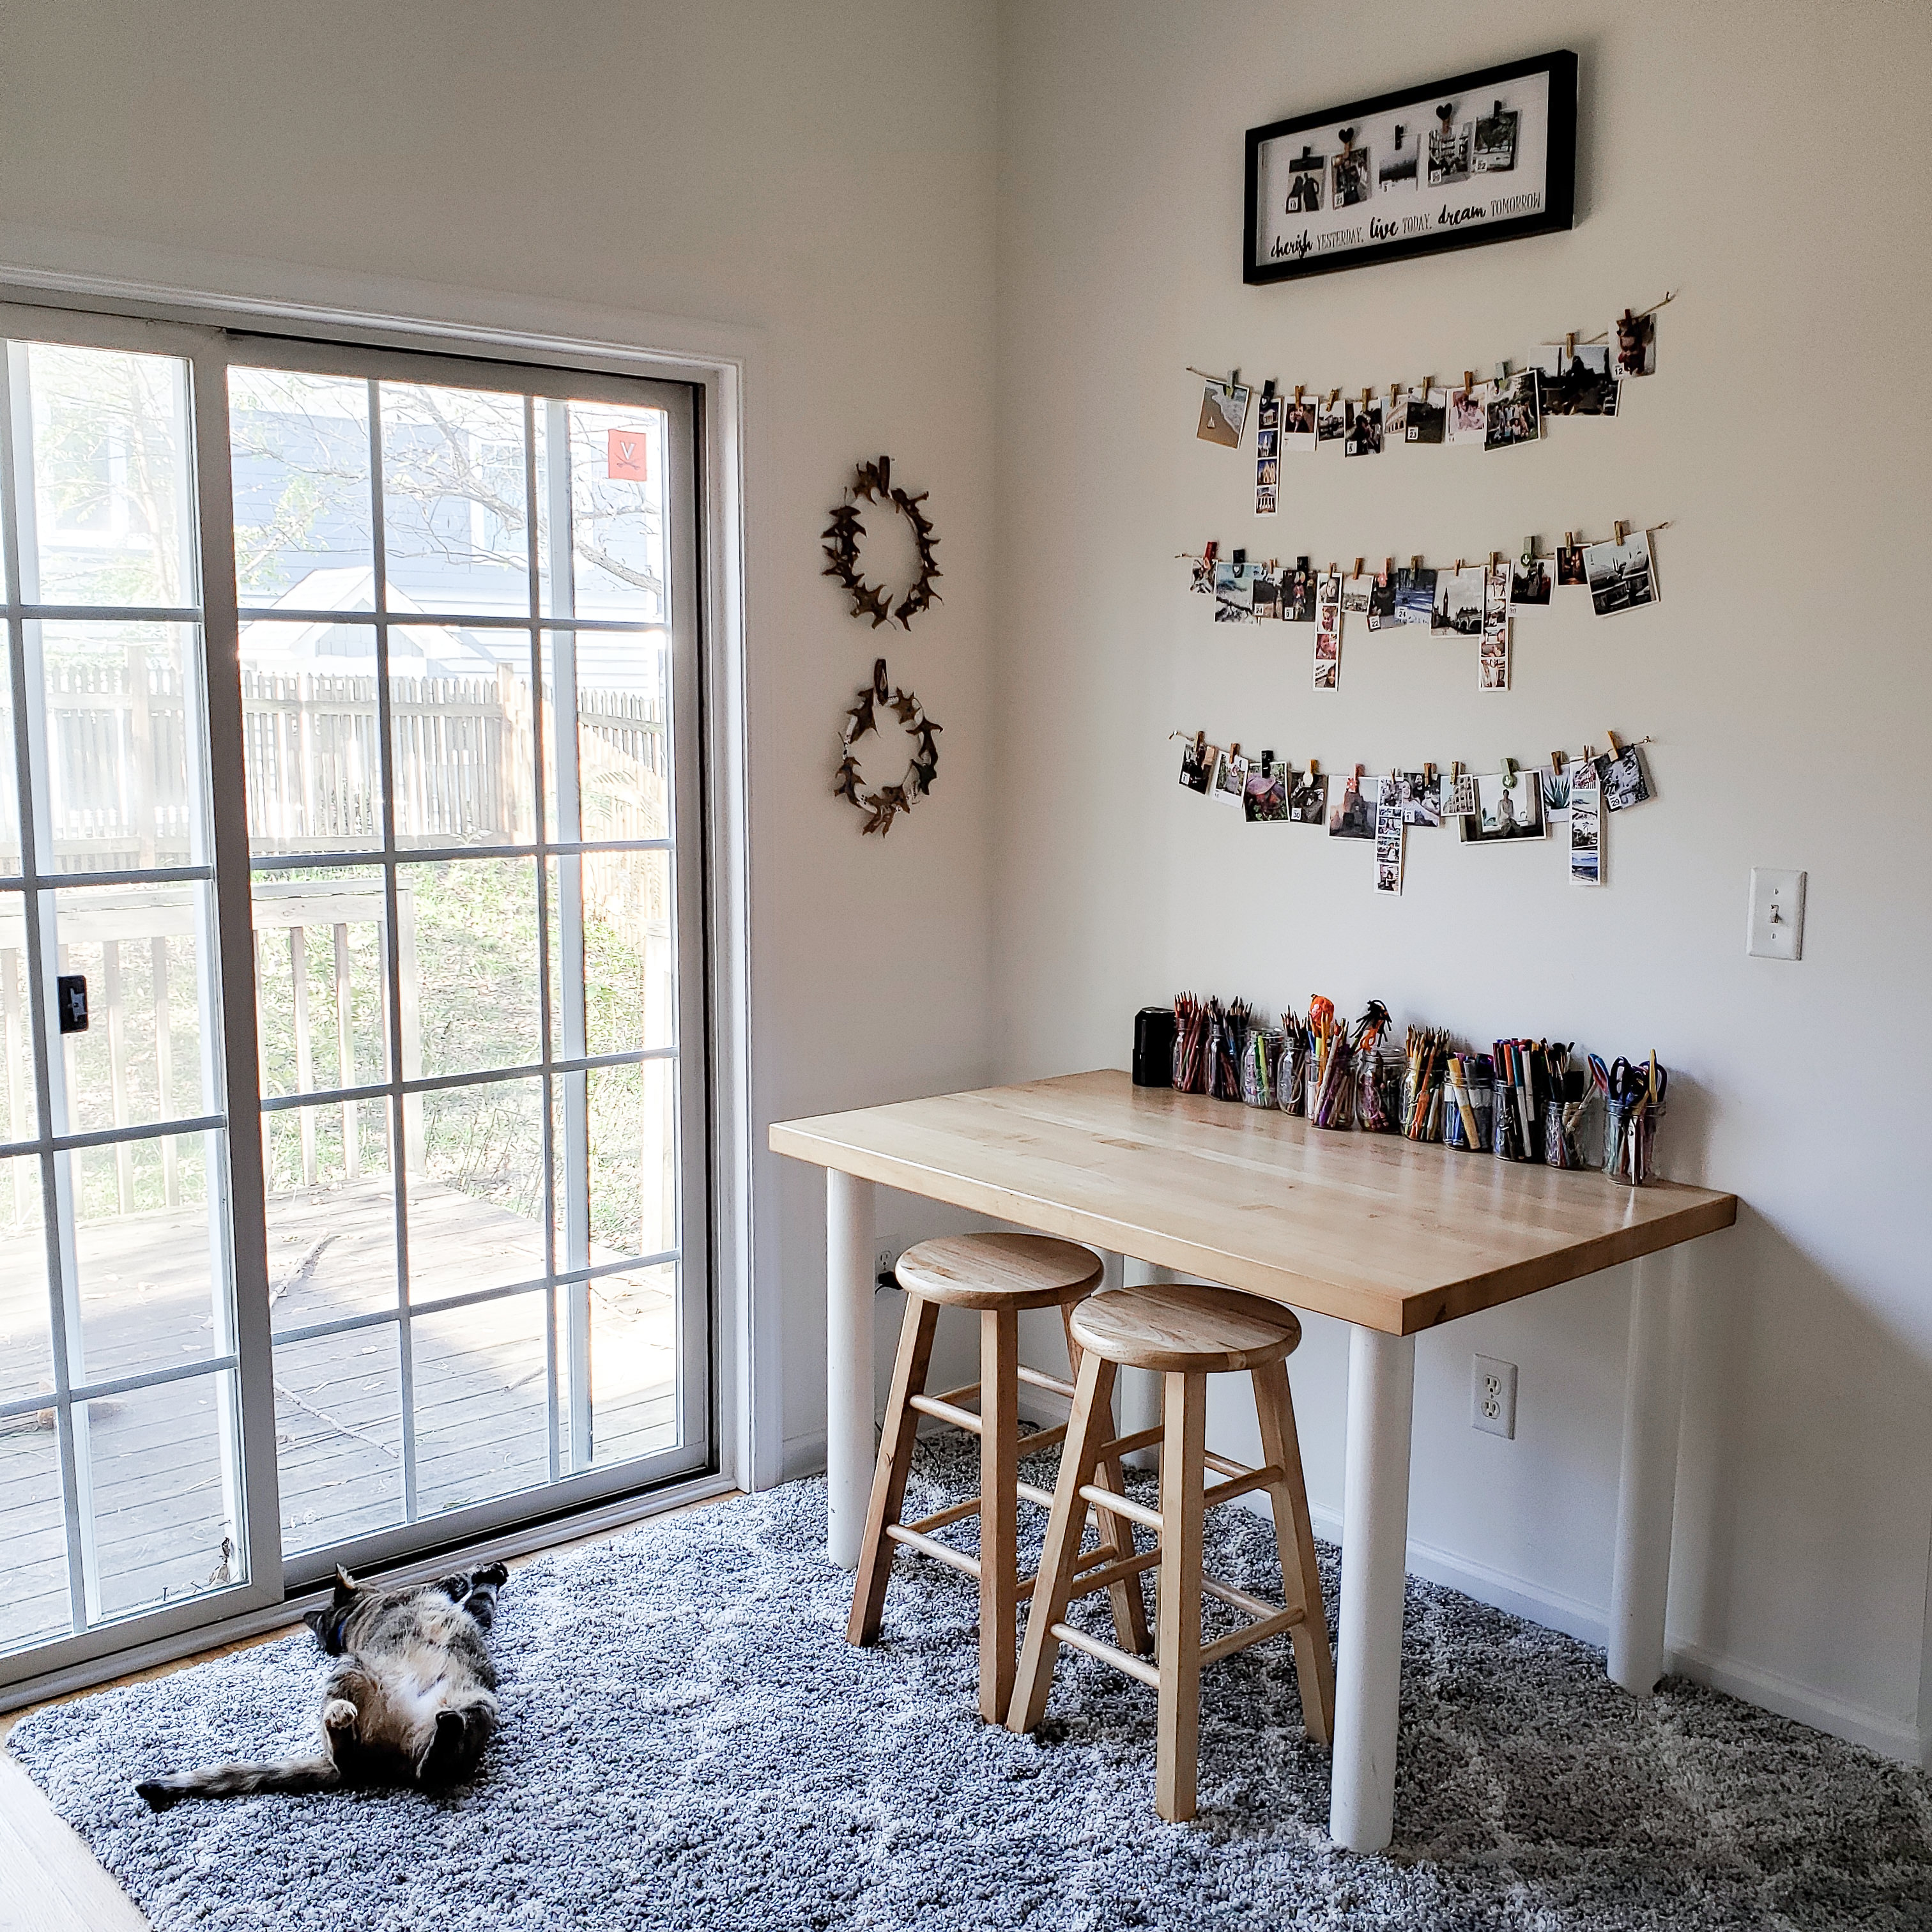
I decided to do something special with this space, not only because we’re always in it (it’s in an airy part of the kitchen), but because it has that big beautiful wall above the table. Three photo strings with calendar photos and photo strips almost did the trick, but I wanted something to cap it all off, like a star on a tree. So I got a frame with a string and clothespins inside it and hung up a few more there.
Voilà: cat heaven ... apparently.
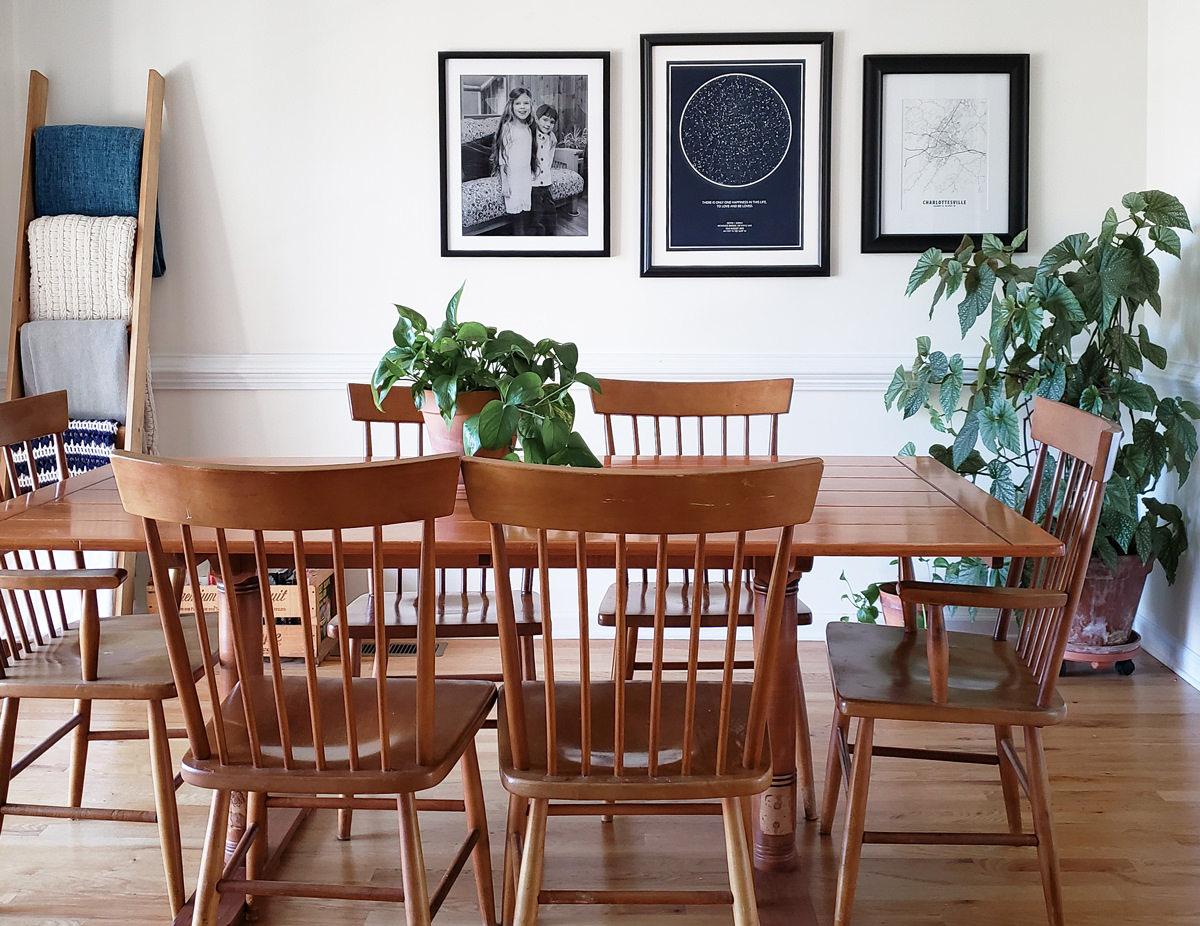
The dining room is large, bright and heavily trafficked, and I didn’t want any delicate photo strings hanging in our way as we bustled around the table. Instead, I opted for large, framed pieces that showcased our family and home life.
To the right we framed a map of Charlottesville, where we live. In the middle is a start chart from The Night Sky, which makes gorgeous prints of the heavens on your special day. Ours is from our wedding in Oregon. To
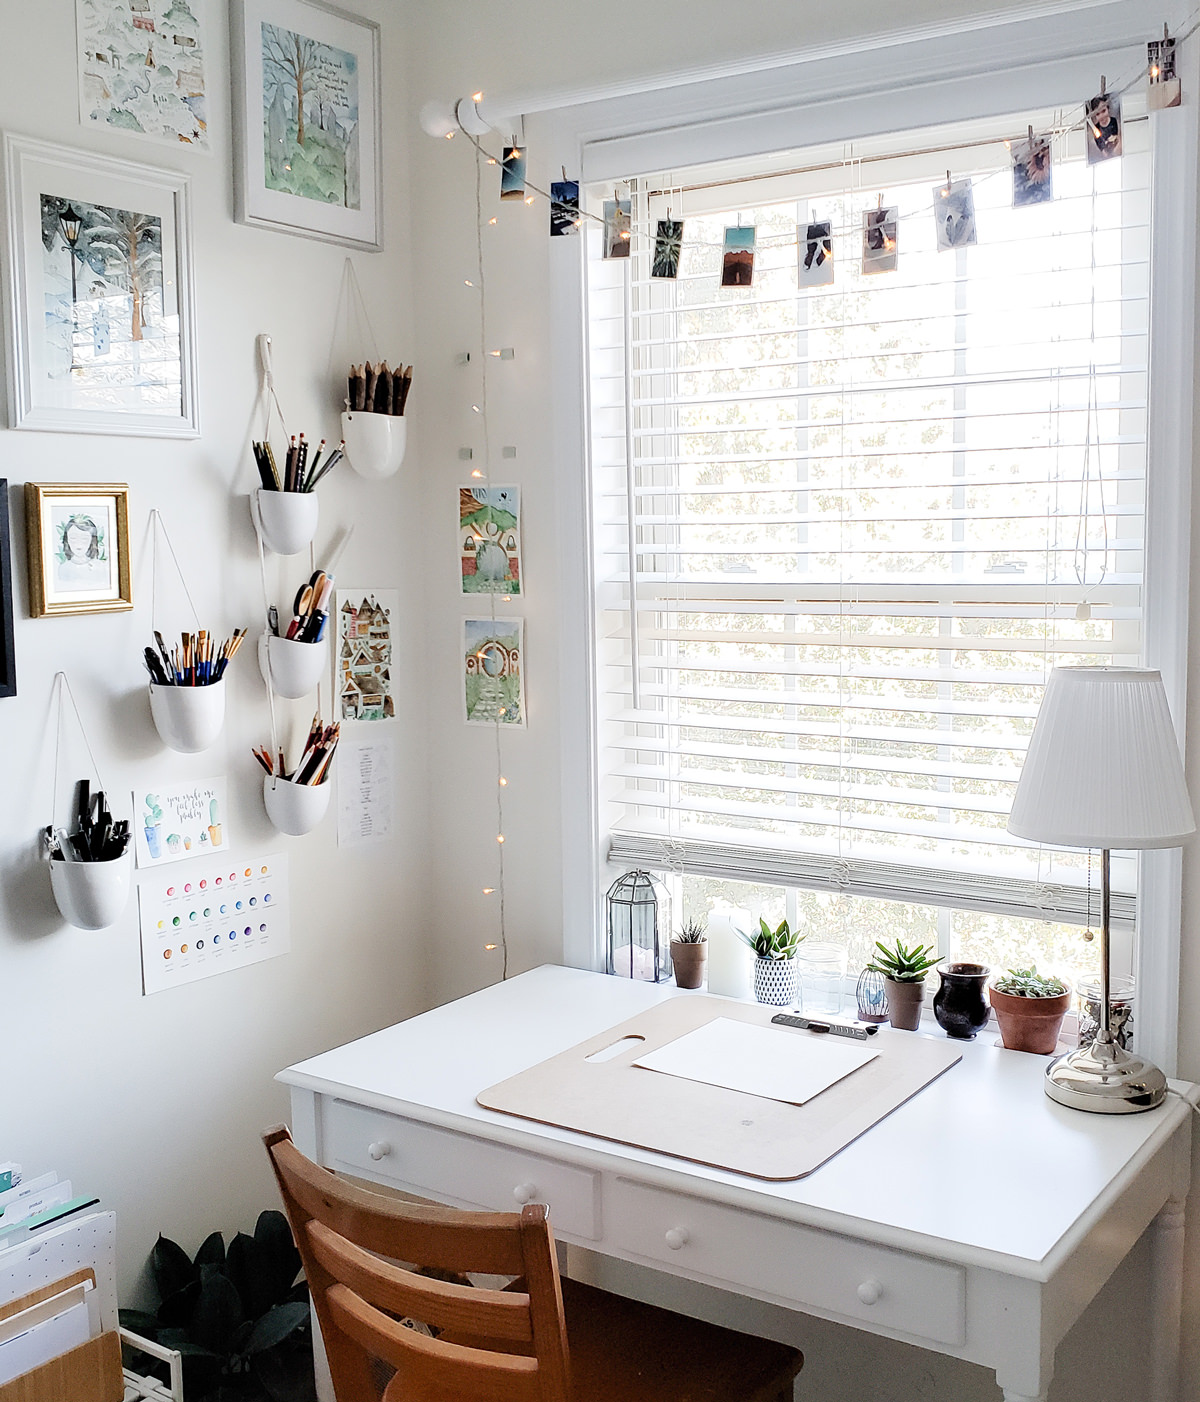
There’s nothing I love more than sitting down on a sunny afternoon or cozy evening and painting for several hours. While the art itself is calming, I also get so much just out of sitting in a soothing space – but of course, that means I have to make it pretty first!
For my studio, I thrifted a desk, chairs and shelving for all my supplies. Then I hung little plant pots on the wall and filled them with my brushes, pens and other supplies, and put plant pots and found objects in the window. I framed and hung my art around, then string a simple piece of kitchen string across the unused curtain rod and clipped mini prints to it.
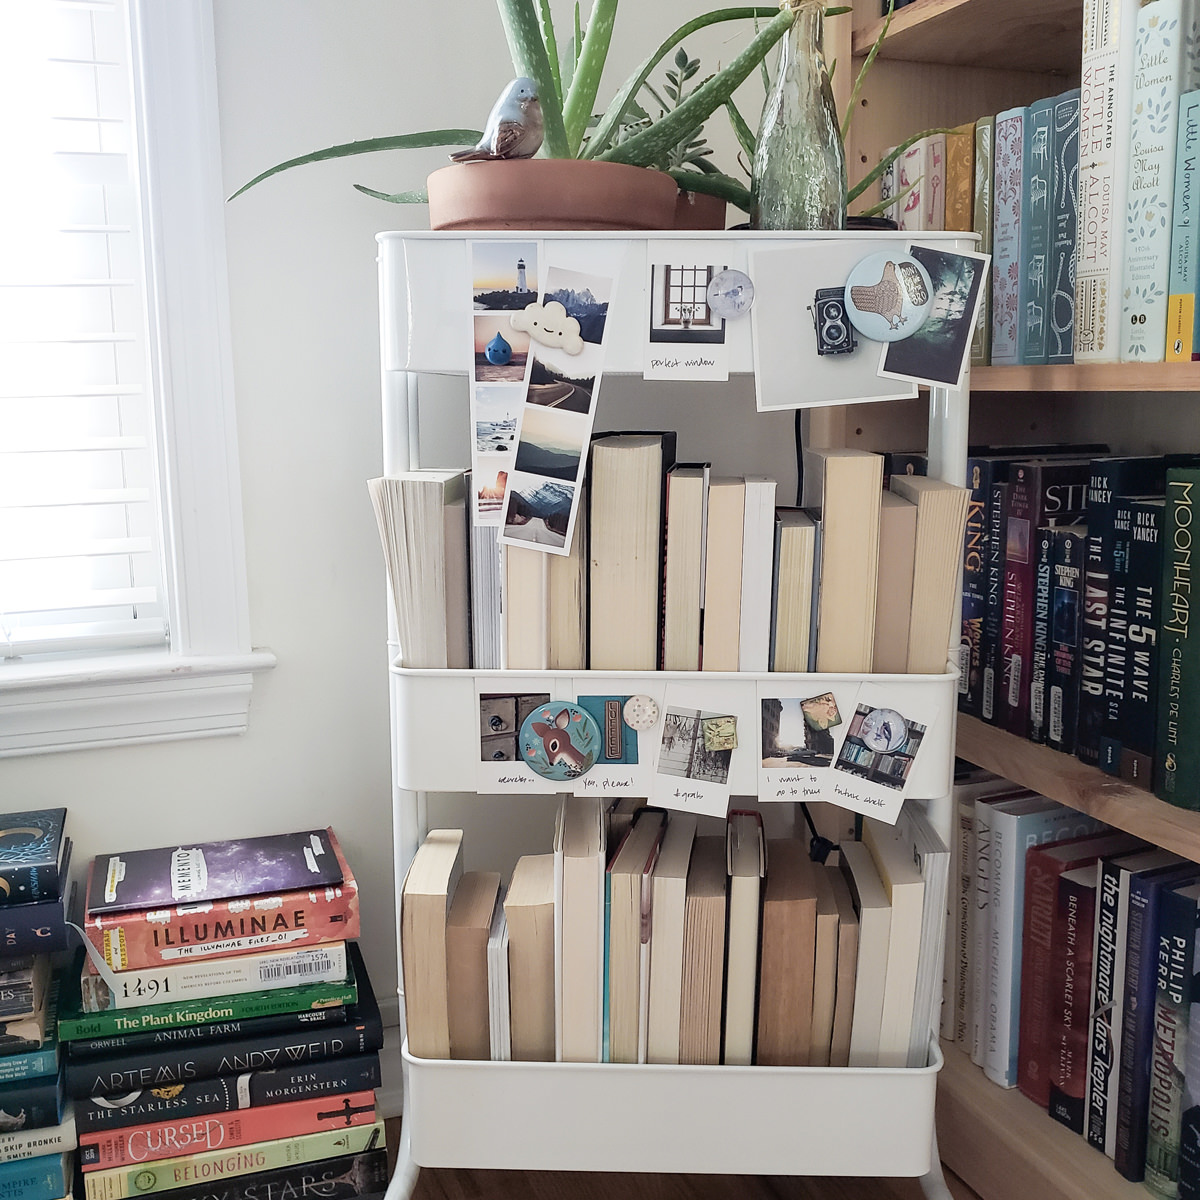
If you haven’t yet made the acquaintance of the TBR cart, well, it’s time. Basically, these little carts serve as mini-shelves to hold the books you haven’t read yet and mean to get to in the near future. Mine is usually overstuffed and unmanageable, of course, but hey: It’s the thought that counts.
I also use it as a place to feature books and add a little pop of charm to the corner of my living room. Choose eclectic magnets, mini prints and photo strips, then dress it up with one eye-catching 4x4 photo square for a dramatic effect.
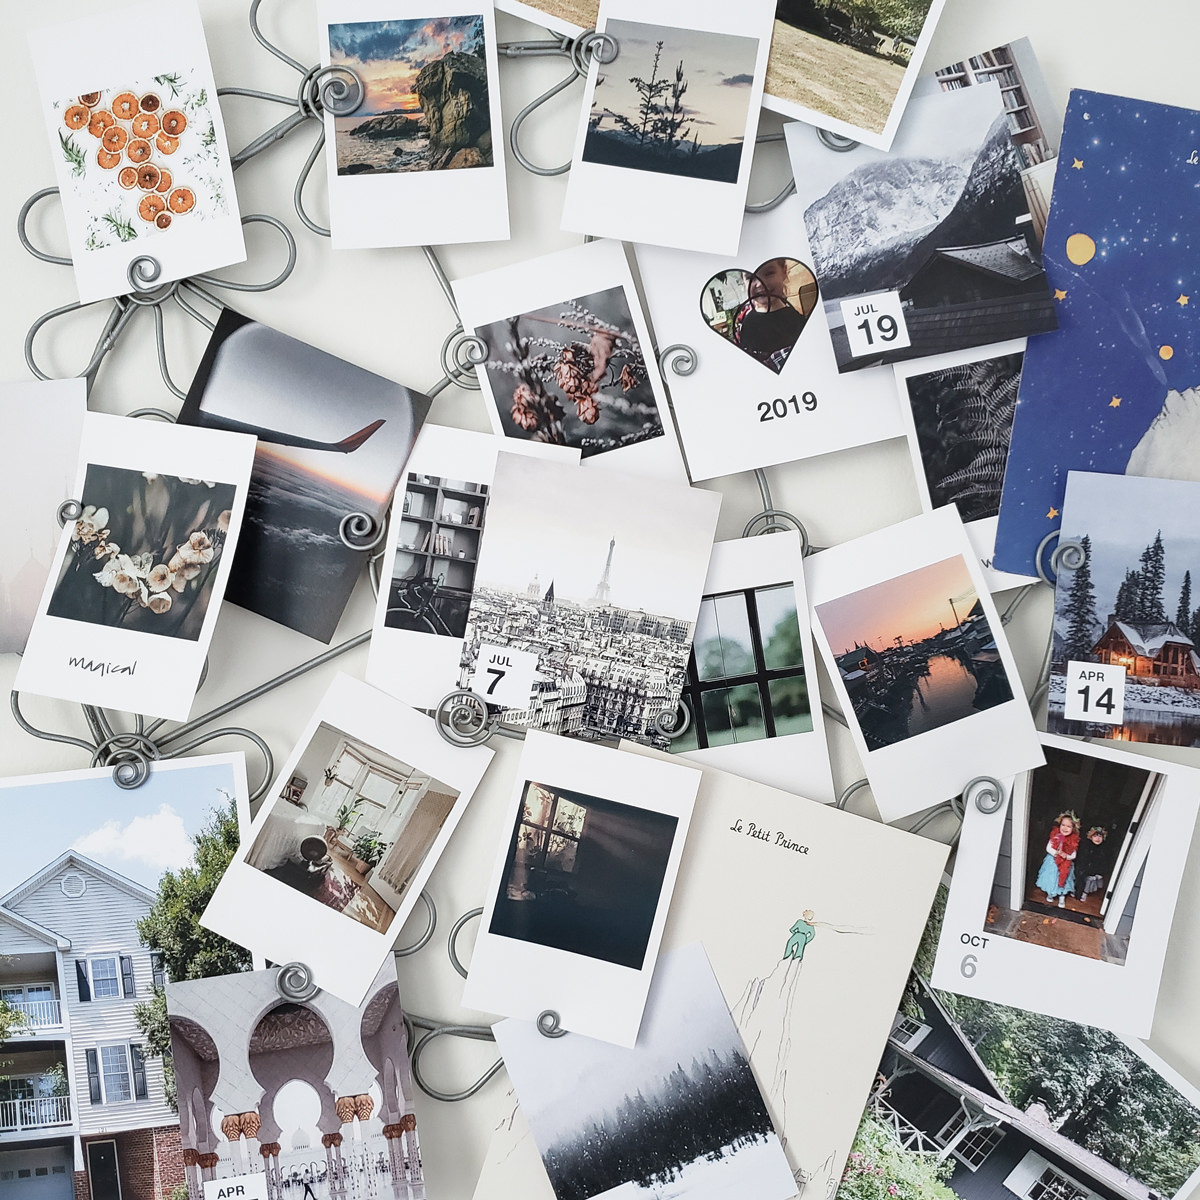
When I’m painting up in my studio, I sometimes hit a rut. That’s when I need to glance up and see something beautiful the most. In addition to the string hanging over my desk, I’ve got this little wire-framed photo holder right next to my desk. I stick mini prints into it along with postcards, larger photos and works-in-progress, as well as the work of other artists when the spirit moves me.
That’s it! Feel free to come see more of my projects @newleafwriter, though be warned: you better be ready to deal with my book obsession. Also, let us know which one of these you think you might try today!